Introduction: The Safe-Styling Blueprint—How to Straighten Hair Without Breakage
You want sleek, glassy hair—without the straw-like aftermath. The good news: learning how to use a hair straightener without damaging hair isn’t about avoiding heat forever. It’s about strategy—the right prep, the right tool, the right temperature, and a technique that gets it done in one clean pass.
This safe-styling blueprint turns heat from a hazard into a helper. You’ll discover pro tips that keep the cuticle smooth, lock in moisture, and protect your ends—so you can enjoy a sleek finish with long-term hair health. We’ll cover prep, temperature settings by hair type, the comb-chase method, frizz-proof finishing, tool maintenance, and answers to the most-asked questions.
By the end, you’ll have a step-by-step routine that minimizes breakage, preserves color, and delivers a lasting, mirror-like sheen—without daily damage.
Quick Summary: 8 Damage-Minimizing Rules at a Glance
- Start dry: Only straighten fully dry hair to avoid the bubble-hair effect and structural damage.
- Detangle first: Remove knots with a wide-tooth comb and brush to prevent snagging and split ends.
- Use heat protectant: Coat evenly from mid-lengths to ends; reapply lightly before touch-ups.
- Pick the right plate: Quality ceramic or tourmaline with precise temperature control is non-negotiable.
- Match heat to hair type: Fine 250–300°F (120–150°C), medium 300–340°F (150–170°C), coarse/curly 340–380°F (170–193°C). Rarely exceed 410°F (210°C).
- Work in sections: Use the comb-chase, single-pass method with gentle tension.
- Finish smart: Cool-shot, a pea-size serum, and anti-humidity spray to seal and shield.
- Maintain tools: Clean plates, check cords, and replace worn irons to keep heat even and safe.
Prep Like a Pro: Start with Dry, Detangled, Heat-Protected Hair
Healthy straightening starts long before you plug in. Prep builds a protective buffer around each strand so heat glides instead of scorches.
1) Wash and condition for slip: Choose a sulfate-free shampoo and a lightweight, smoothing conditioner. Look for ingredients like amodimethicone, dimethicone, and hydrolyzed proteins to reinforce the cuticle without heaviness.
2) Towel-blot, don’t rub: Press out moisture with a microfiber towel to minimize friction. If you blow-dry, angle airflow downward to help lay the cuticle flat.
3) Detangle in stages: Start with a wide-tooth comb from ends to roots, then switch to a paddle brush. Fewer snags mean fewer splits when heat styling.
4) Apply heat protectant correctly: Mist or smooth a thermal protectant evenly, focusing on mid-lengths and ends. Fine hair does best with lightweight sprays; thicker textures can handle creams or serums. Re-apply a light layer before touch-ups on dry hair.
5) Ensure fully dry hair: Damp strands can sizzle, causing internal bubbles and breakage. Always confirm roots and dense sections are dry before straightening. Learn more about why heat changes hair structure at Wikipedia.
Taking a few extra minutes here dramatically reduces heat exposure later—because protected, detangled hair often needs just one smooth pass to get sleek.
Choose the Right Tool: Plate Material, Width, and Temperature Control That Protects Strands
Your flat iron can be a shield or a saboteur. Invest in features that keep heat even, glide smooth, and prevent snagging.
Plate material: High-quality ceramic delivers even heat and reduces hot spots; tourmaline-infused plates help reduce static and frizz; titanium heats quickly and stays consistent—great for coarse, resistant hair in skilled hands. Learn about the properties of ceramic at Wikipedia.
Width matters: 1-inch plates are versatile for most hair lengths and for curling/bending ends. 1.25–1.5-inch plates speed up work on long or thick hair. Short hair and bangs benefit from 0.5–0.75-inch mini plates for precision.
Essential controls: A digital temperature readout, adjustable heat in small increments, and floating plates to maintain contact without crushing strands. Safety features like auto shut-off and a heat-proof cap are a plus.
Corded vs cordless: Modern cordless tools are travel-friendly and convenient for touch-ups. See a compact option here: USB wireless charging hair straightener comb—useful for bangs, edges, and on-the-go smoothing without hunting for outlets.
Choose a tool that feels balanced in your hand and glides with zero snag. The right iron doesn’t just style better—it protects better.
Set Smart Heat: Match Temperature to Hair Type and Condition
Heat that’s too low makes multiple passes necessary; heat that’s too high can scorch the cuticle. Find your sweet spot based on texture, density, and hair health.
- Fine or fragile hair: 250–300°F (120–150°C). Start low and increase in 10°F increments only if needed.
- Medium or normal hair: 300–340°F (150–170°C). This range smooths efficiently with one steady pass.
- Coarse, curly, or resistant hair: 340–380°F (170–193°C). Use thoughtful tension and a heat-resistant comb to maximize glide.
- Compromised or color-treated hair: Drop 20–30°F (10–15°C) from your usual setting and extend your pass length slightly to avoid overexposure.
Rarely go above 410°F (210°C), which can accelerate cuticle wear and moisture loss. Smooth results come from controlled thermal contact, not brute force. For more on why even heat distribution matters, see thermal conductivity basics.
Pro tip: If hair feels hot to the touch for more than a second after a pass, your temp is too high or your pass is too slow. Adjust one variable at a time.
Pro Technique: Sectioning, Tension, and the Single-Pass Comb-Chase Method
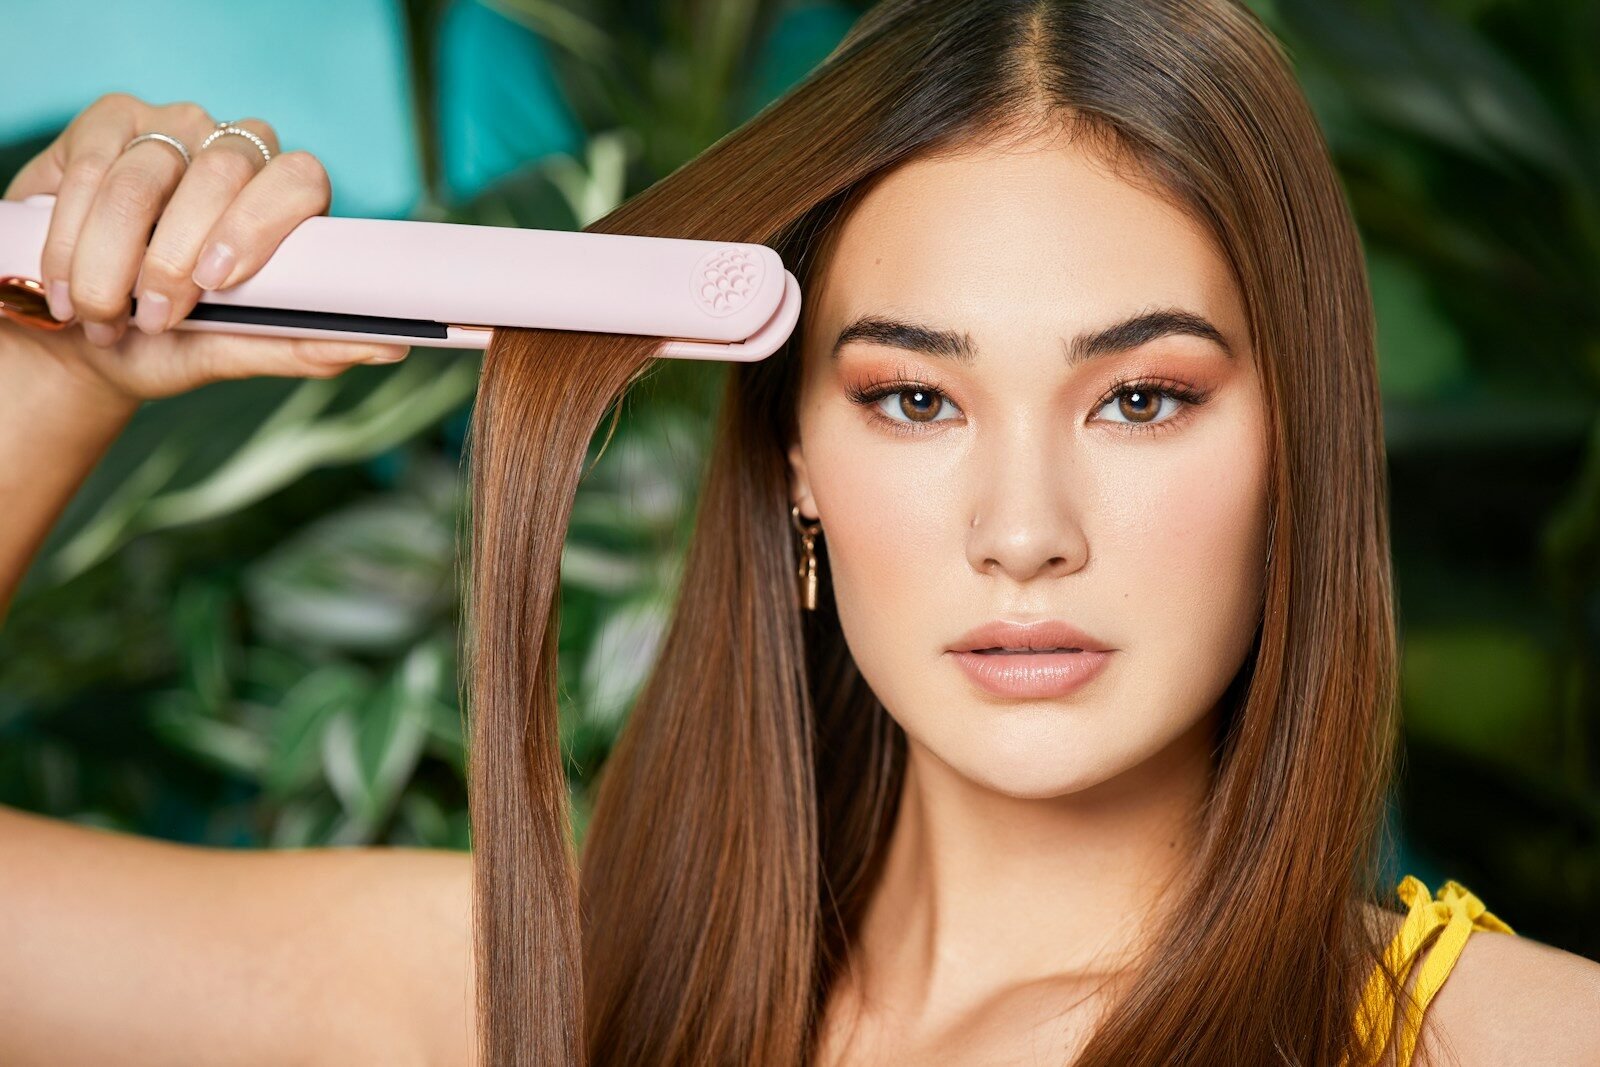
Technique is everything. The comb-chase, single-pass method delivers sleek results at lower heat because it aligns strands before the plates touch them.
1) Section cleanly: Create horizontal layers from nape to crown. Clip the rest away. Each working section should be no thicker than the plates and 1–1.5 inches wide.
2) Lead with a heat-safe comb: Place a fine-tooth, heat-resistant comb at the root. Follow immediately with the flat iron, trailing about half an inch behind. The comb pre-aligns hairs to reduce frizz and snags.
3) Apply gentle, even tension: Close plates lightly—don’t crush. Slide at a steady pace (3–5 seconds per 6-inch section). If you need a second pass, let the hair cool first.
4) Tackle roots smartly: For lift-free roots, angle the iron parallel to the scalp and glide out smoothly. For face-framing pieces, bevel slightly inward at the ends.
5) Watch for feedback: A whisper of harmless steam from product is normal; sizzle or smoke means the hair is damp or too hot. Stop, cool, and reassess.
Master this flow and you’ll spend less time on each section, use less heat overall, and get a sleeker, longer-lasting finish.
Finishing & Frizz Control: Seal with Cool Air, Serums, and Anti-Humidity Sprays
Polish and protection are the final 10% that make 90% of the difference—especially if you fight humidity or static.
Cool-shot seal: Use your dryer’s cool setting to blow downward from roots to ends. This helps close the cuticle and lock in shine.
Serum with discipline: Warm a pea-size amount between palms. Glide over mid-lengths and ends. Look for silicones (dimethicone) plus lightweight oils (argan, jojoba) for slip without grease.
Anti-humidity shield: Mist an anti-frizz, anti-humidity spray in a halo around your head and lightly over lengths. It creates a flexible barrier that wards off puffing and flyaways.
- If you’re fine-haired: Choose featherweight, alcohol-free mists to avoid collapse.
- If you’re coarse/curly: Layer a serum with a humidity-resistant finishing spray for all-day hold.
At night, wrap hair in a silk scarf or sleep on a silk pillowcase to reduce friction and keep that glossy, fresh-from-the-iron look longer.
Maintenance & Safety: Clean Plates, Replace Worn Tools, Avoid Water and Steam Sizzle
Even the best technique can’t outsmart a poorly maintained tool. Keep your iron clean, consistent, and safe so it protects your hair every time.
- Clean plates weekly: Unplug, let cool, then wipe plates with a lightly damp microfiber cloth. For buildup, use a small amount of 70% isopropyl alcohol on a cotton pad. Dry thoroughly before storage.
- Check the cord and hinge: Frayed cords or loose hinges cause uneven heat and snagging. Replace the tool if damage appears.
- Replace when it’s time: If you see chipped plates, stubborn residue, or inconsistent temperature, it’s time for a new iron. Many people replace every 2–4 years depending on use.
- Avoid water and sizzle: Never use on damp hair. Water trapped inside strands can superheat and cause internal damage. The American Academy of Dermatology offers more healthy hair-care basics.
- Store with care: Use a heat-proof mat, let the iron cool completely, then secure loosely. Keep away from aerosols and plastic surfaces that can melt.
- Travel smart: Use dual voltage if you travel internationally, and a heat-resistant pouch. Cordless travel tools, like this USB wireless charging hair straightener comb, are great for quick, low-heat touch-ups.
Safe tools plus smart technique equal glossy, resilient hair—consistently.
Conclusion: Style Smarter, Not Hotter—Healthy Shine Every Time
Beautifully straight hair doesn’t require damage. It requires a plan. When you prep thoroughly, choose the right iron, dial in temperature, and master the comb-chase single pass, you’ll get salon-level sleekness while preserving strength and shine.
Make this your mantra: Style smarter, not hotter. Respect your hair’s natural structure, protect it at every step, and you’ll enjoy smooth, swingy strands whether you straighten once a week or for special occasions.
Return to these steps any time you need a refresh, and keep building your routine as your hair changes with the seasons, color, or length. Healthy shine is a habit—and you’ve got the blueprint.
FAQs: Do I need heat protectant? Can I straighten damp hair? Is daily straightening safe? What about color-treated hair? How to prevent split ends?
- Do I really need heat protectant? Yes. A quality thermal protectant forms a temporary barrier that reduces moisture loss and friction so you can achieve results with less heat. Apply evenly, focusing on mid-lengths and ends.
- Can I straighten damp hair? No. Damp hair can sizzle, leading to internal damage and breakage. Always blow-dry completely first. Learn more about how straightening changes hair structure at Wikipedia.
- Is daily straightening safe? It’s not ideal. Give hair heat-free days between sessions. If you must touch up, use the lowest effective temperature and small sections, or try a cordless straightener comb for quick, low-heat smoothing.
- What about color-treated hair? Lower heat by 20–30°F (10–15°C) and use a color-safe, protein-enriched leave-in. Seal with serum and anti-humidity spray to guard against porosity-related frizz and fading.
- How do I prevent split ends? Trim every 8–12 weeks, minimize friction (silk pillowcase, gentle brushing), use a pea-size serum after straightening, and avoid clamping too hard. Consistent plate cleaning also reduces snags that can cause splits.
- Why is my hair frizzy after straightening? Possible culprits: damp hair, insufficient protectant, too low heat causing multiple passes, or humidity. Fix with a single-pass technique, proper temp, and an anti-humidity finish.
- How long should a pass take? Around 3–5 seconds for a 6-inch section. If you’re lingering longer, your section may be too thick or your temperature needs a slight bump—adjust carefully.
- Are titanium plates too harsh? Not inherently. Titanium offers fast, consistent heat ideal for coarse or resistant hair—if you use correct temperature, clean plates, and a practiced single pass. Fine hair may do better with ceramic.
For further reading on hair structure and care, explore hair cuticle science. Knowledge is your strongest heat protectant.